In this post you will learn how to make a printed circuit board in your own home.
A PCB (Printed Circuit Board) is responsible for making electrical connections and providing mechanical fixation between the electronic components of a device. The plates are composed of a non-conductive (base) substrate, usually phenolite or fiberglass, and one or more layers of conductive material, usually copper.
The printed circuit boards present in commercial devices have several layers through which the conductive tracks pass. For homemade manufacture, it is convenient to use only one layer per plate.
Material Needed
To make your own printed circuit board at home you will need:
- Phenolite plate
- Photographic paper
- Iron perchloride
- Steel wool
- Detergent
- Thread or String
- Scotch tape
- Plastic Container
- Iron
- Laser printer
- Drill or PCB Hole Punch
An excellent option for making your PCB is the complete kit for the production of printed circuit boards.
Why make a printed circuit board?
We often create projects so useful and cool that we want to keep them forever or use them in our daily lives. Keeping the project on a protoboard is not viable because the connections are fragile, the physical space occupied is very large and the chance of something going wrong is extremely high.
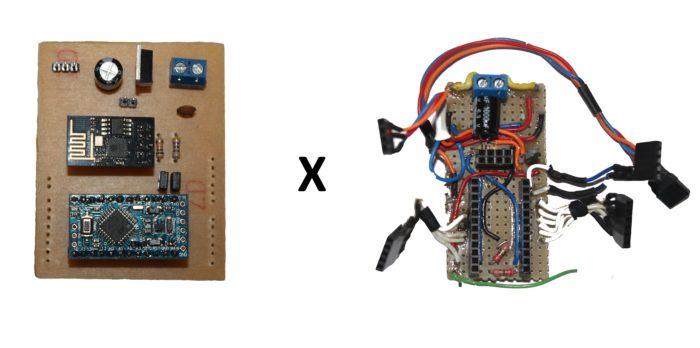
In these cases, the first impulse of most makers is to use a perforated plate; however this solution is ideal only for prototyping and not for the definitive project.
When working with a perforated board it is necessary to use wires to make some of the connections, making the dimensions of the project much larger and the connections are more fragile compared to a printed circuit board.
How to draw a printed circuit board?
There are several programs available for free for the PCB project, such as KiCad and EasyEDA. Among these, EasyEDA is the easiest for beginners as it has a large inventory of components at the user’s disposal, including Arduino boards and modules.
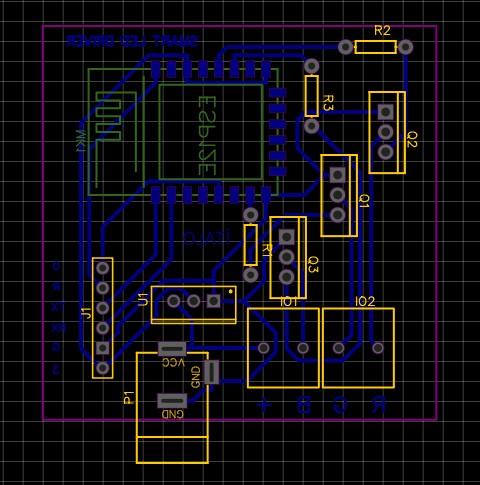
In the beginning it is interesting to keep the thickness of the tracks and the spacing between them greater than 0.5 mm using the lower layer for the tracks and the upper layer only for the components.
With the PCB design ready, you should export the bottom layer of the design to PDF and print it on photo paper using a laser printer. If printing is done with an inkjet the process will not work.
Making your first printed circuit board
To start the process, we must wash the copper side of the phenolite with detergent and steel wool and then dry with paper towels.
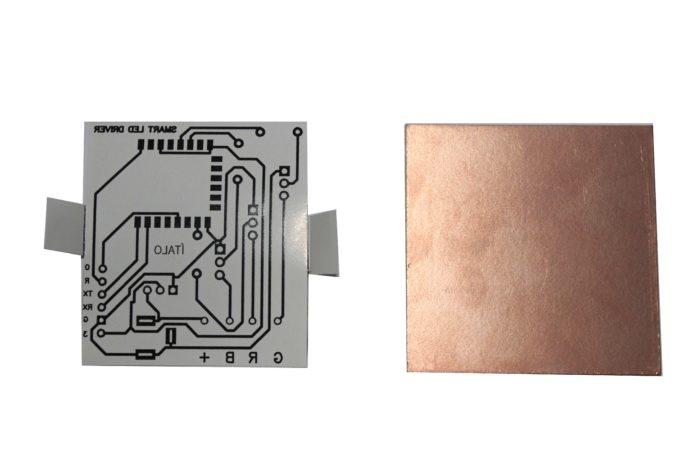
Cut the print to the correct size, leaving two small tabs as in the image above. Use the tabs to secure the paper to the plate with the help of adhesive tape.
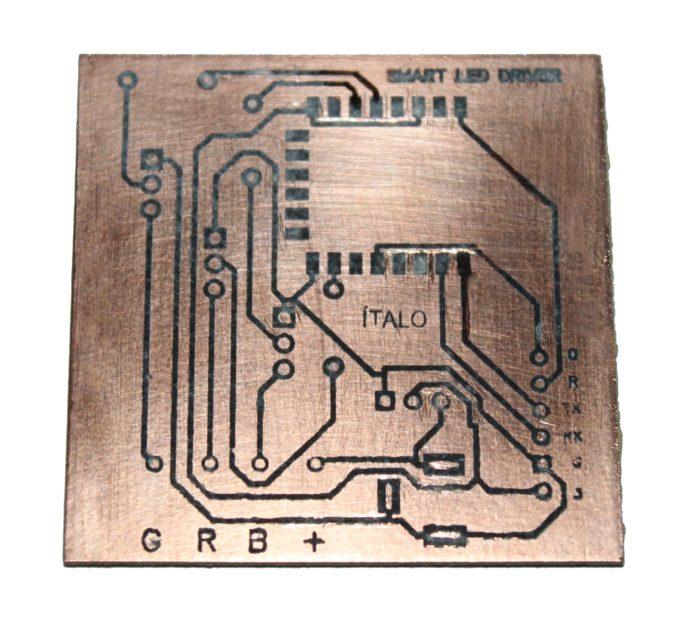
Gently iron the iron at maximum temperature over the plate for 5 minutes. After that time, throw the plate in a container with cold water and remove the paper by gently rubbing it with your fingers. Dry the plate carefully! At that moment, check if your design was transferred correctly to the board, in case of any small flaw, correct it with the aid of a ruler and a black permanent pen . The board will look like this:
In a glass, plastic or ceramic container place the plate attached by a string or string and pour the Iron Perchloride until it completely covers the plate. Use the string to move the plate in the solution. It is important to remember that we should avoid direct contact with Perchloride, which despite not being toxic, easily stains clothes and corrodes metals if exposed for long enough.
When no copper surface is visible, wash the plate under running water and scrub with steel wool and detergent until the copper tracks are visible.
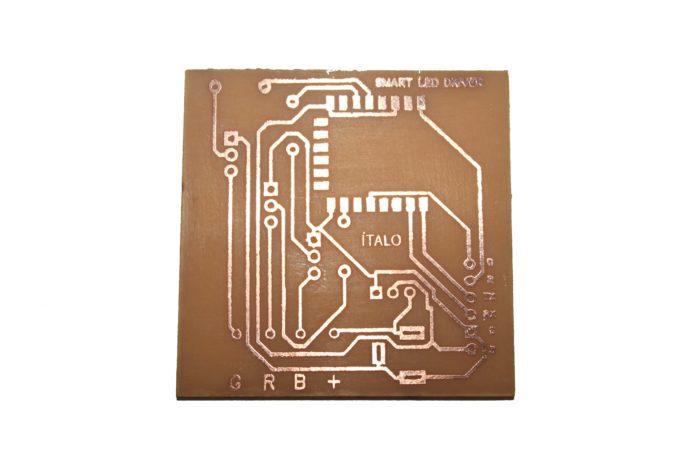
Your PCB is ready!
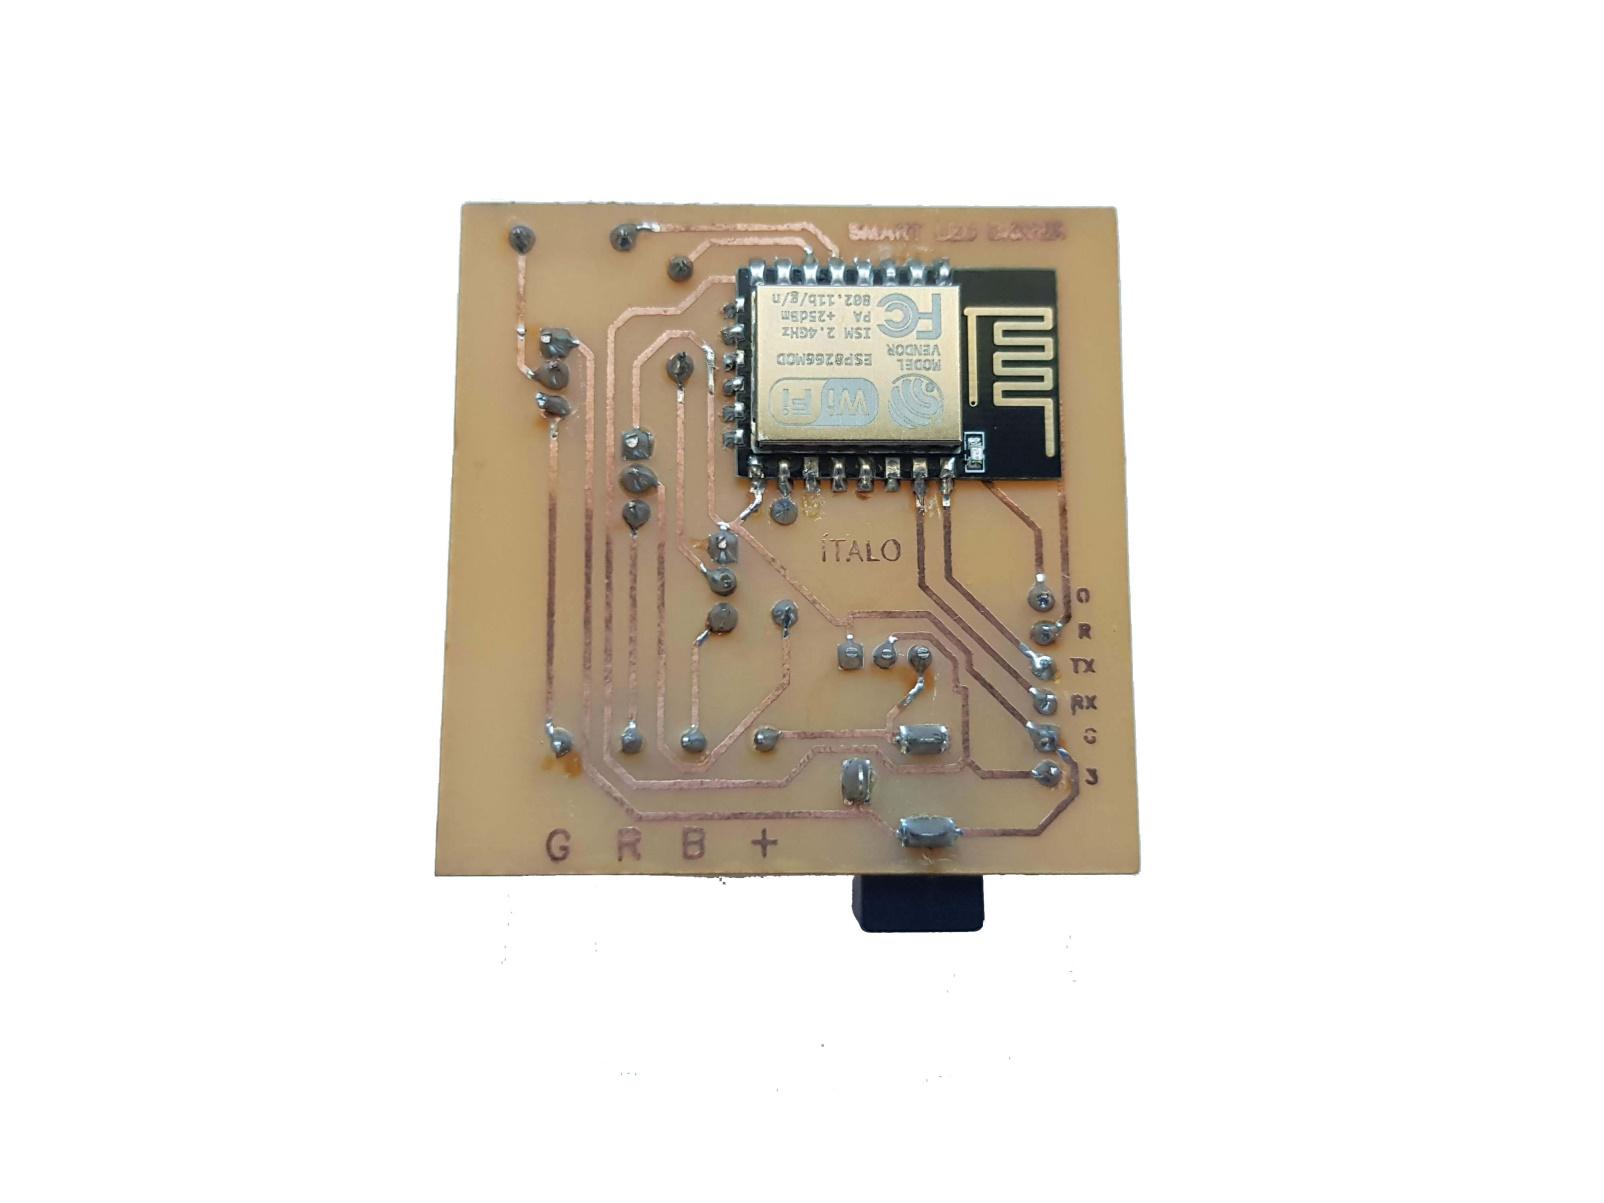
Now all that remains is to drill the holes for the terminals of the components and weld them. To do this, make a small mark with a nail and drill with a 1 mm drill. Alternatively, there are extremely practical and affordable PCB punches that speed up the process considerably. If you have no experience soldering electronic components access our post “How to solder electronic components”.
Conclusion
In this article I tried my best to show you how to make a printed circuit board in your home what you need to create a printed circuit board all requirements and step by step guide you with pictures to make a PCB. I hope you understand better about this topic creating PCB if you have any question then let me know I will help you in this regards here at this developer website.
Thanks for reading!!!